Resource Links are used to share multiple links in an extremely clear way with your site users. There are no images or icons, just your link titles in stylized boxes. This Content Row can be used to share things like scholarship types, degree programs, etc.

Adding/Editing Resource Links
Step One
Add a new content row and in the 'Select value...' drop-down select Resource Links, or find the content row labeled 'select-resource-links' and select to open.
Add a title in the 'Resource Links Header' field.

Step Two
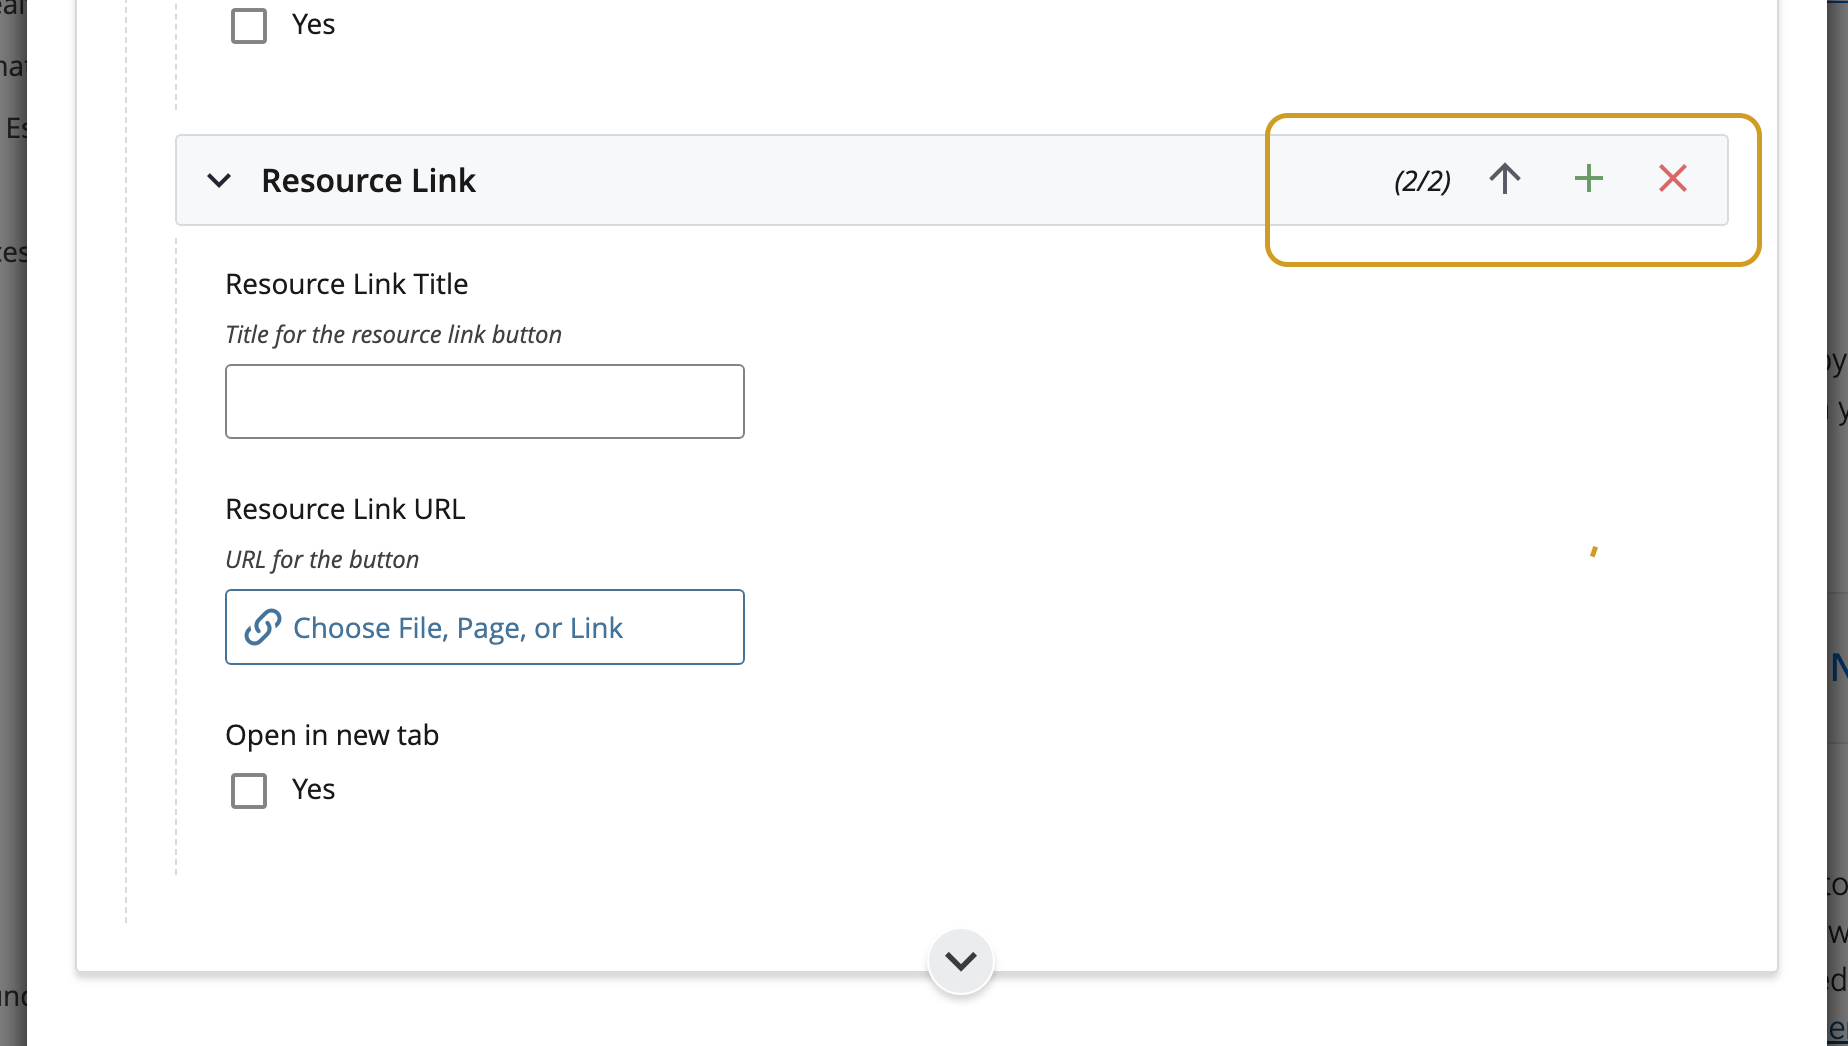
Add a link title in the 'Resource Link Title' field. You will then use the 'Choose file, page or link' button to select your desired link.
If you would like to link to an external source in your Resource Links, you must have already added the external link to your site's 'Links' folder.

Step Three
Use the green plus sign to add a new Resource Link to your content row. Cascade will refresh, and you will see a blank resource link. Repeat step two to fill in your resource link.

Once you have added more than one resource link, you can use the green plus to add more links, the red x to delete links, and the arrows to rearrange links in the row.
Step Four
Follow the steps to preview your draft, submit, and publish.
Was this article helpful?
That’s Great!
Thank you for your feedback
Sorry! We couldn't be helpful
Thank you for your feedback
Feedback sent
We appreciate your effort and will try to fix the article