This guide explains how to update the alert banner on your website, make it visible to users, and remove it when no longer needed.
Step 1: Locate the Alert Banner
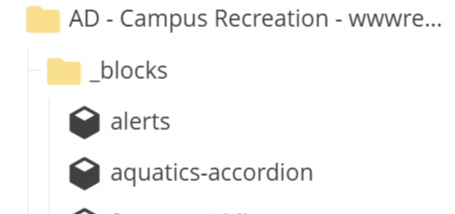
The alert banner is stored in the _blocks folder within your site.
- Navigate to the _blocks folder.
- Select the Alerts block.
- Open the block and edit it just as you would any standard web page.
Screenshot 1: Blocks folder showing the Alerts block.
Step 2: Activate the Banner
To display the banner on the website:
- Open the Alerts block.
- Locate the Active option.
- Select or enable the option to make the banner visible.
Screenshot 2: Active option enabled within the Alerts block.

Step 3: Choose the Appropriate Banner Type
The system provides three alert styles, each with a different color and purpose.
Information (Blue)
Use for general announcements such as:
- Planned closures
- Scheduled maintenance
- Service notifications
- General informational messages
Success (Green)
Use for positive communications such as:
- New member benefits
- Program launches
- Achievement announcements
- Success stories
Warning (Red)
Use for urgent or time-sensitive alerts such as:
- Emergency closures
- Safety notices
- Service disruptions
- Critical updates
Screenshot 3: Banner type options: Info, Success, and Warning.

Step 4: Update the Banner Content
Edit the following fields within the Alerts block:
Alert Title
Enter a concise headline that summarizes the message.
Example:
Scheduled Office Closure
Content
Enter the details of the announcement using the page editor.
Example:
Our offices will be closed on Monday, September 1, in observance of Labor Day. Regular business hours will resume on Tuesday, September 2.
Step 5: Publish the Banner
Once the banner content has been updated and activated:
- Navigate to the site's Main Folder.
- Select Publish.
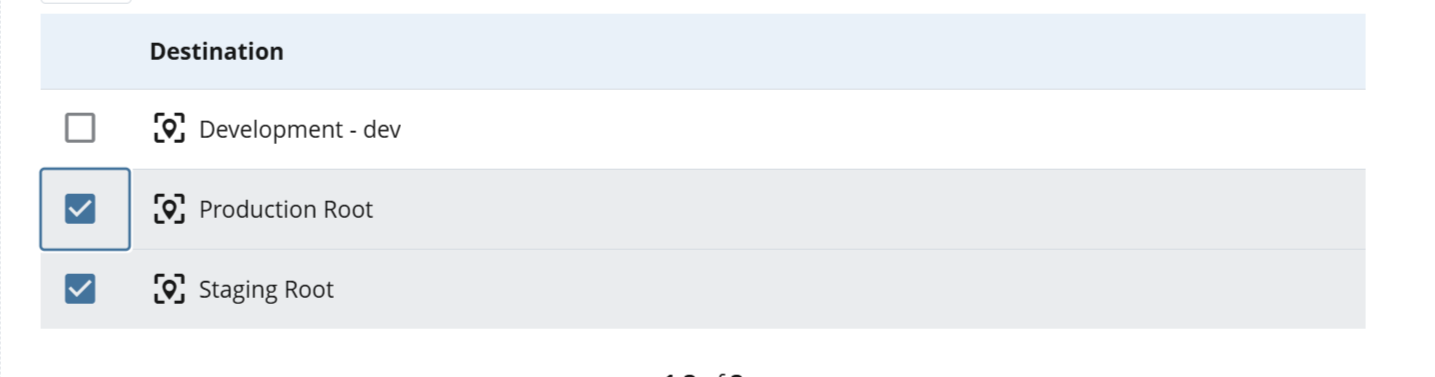
- In the Destination field, choose Production.
- Complete the publishing process.
After publishing, the alert banner will appear across all pages of the website.
Screenshot 5: Publish window with Destination set to Production.
Removing a Banner
When the alert is no longer needed:
- Open the Alerts block.
- Clear or disable the Active option.
- Return to the site's Main Folder.
- Republish the site to Production.
The banner will be removed from all pages once the site is successfully published.
Quick Reference
| Action | Required Steps |
|---|---|
| Add a Banner | Edit Alerts block → Enable Active option → Publish to Production |
| Update a Banner | Edit Alert Title/Content → Publish to Production |
| Remove a Banner | Disable Active option → Publish to Production |
Publishing Reminder
Any changes made to the Alerts block will not appear on the live site until the site has been published to the Production destination.
Was this article helpful?
That’s Great!
Thank you for your feedback
Sorry! We couldn't be helpful
Thank you for your feedback
Feedback sent
We appreciate your effort and will try to fix the article